Blog
X3 news, updates and relevant posts.
Photo Gallery X3.32.0
This release includes PHP 8.2 support, updated Files Gallery with watermarking option and new images sitemap creator.

X3.31.0 Cart, Breadcrumbs and Files
This release includes a new cart plugin, breadcrumbs, Files gallery, bug fixes, PHP 8.1 compatibility and more.

X3.30.0 New Popup!
In this release, the X3 popup has been optimized and refreshed with a new interface design, improved functionality and many new features.

Photo Gallery X3.29.0
New improved image resizer, new scrollbar designs, updated page navigation plugin and many more features and improvements.

Optimizing Images for Photo Websites
A fresh look at optimal size and quality settings for high-quality images in modern photo gallery websites.

Photo Gallery X3.28.0
New SEO options, PHP 7.4 compatibility, updated plugins, encrypted passwords, bug fixes and various improvements.

Photo Gallery X3.27.0
X3 core update loaded with improvements to galleries, functionality, performance and existing features.

X3 Panorama Plugin
Announcing the new X3.26.0 panorama plugin, capable of displaying spherical and flat panoramas directly in X3.

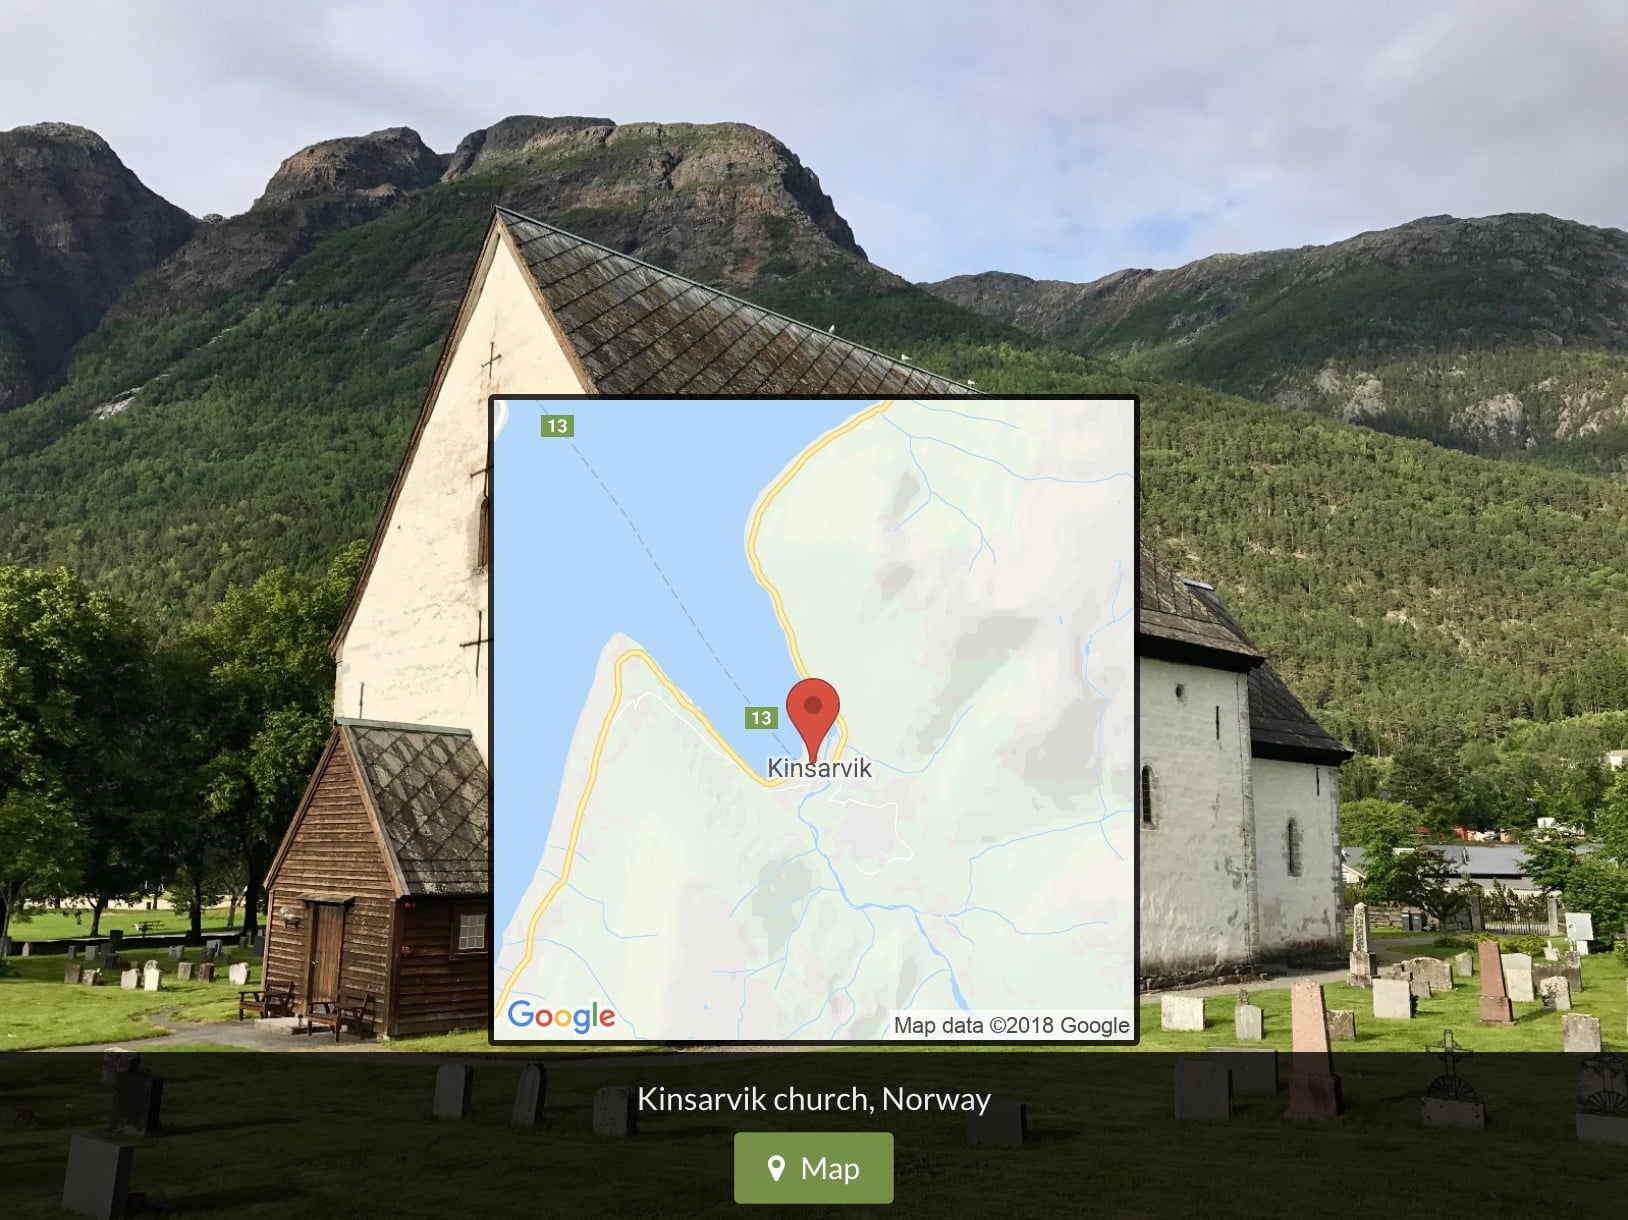
Photo Gallery X3.25.0
X3.25.0 is essentially a massive core/code update, but with several new features like GPS map links, auto-cache and GDPR required consent.
New X3 Home and Updated Resources
X3 has moved into it's new home at photo.gallery and we have updated all X3 links and resources on our new server.
